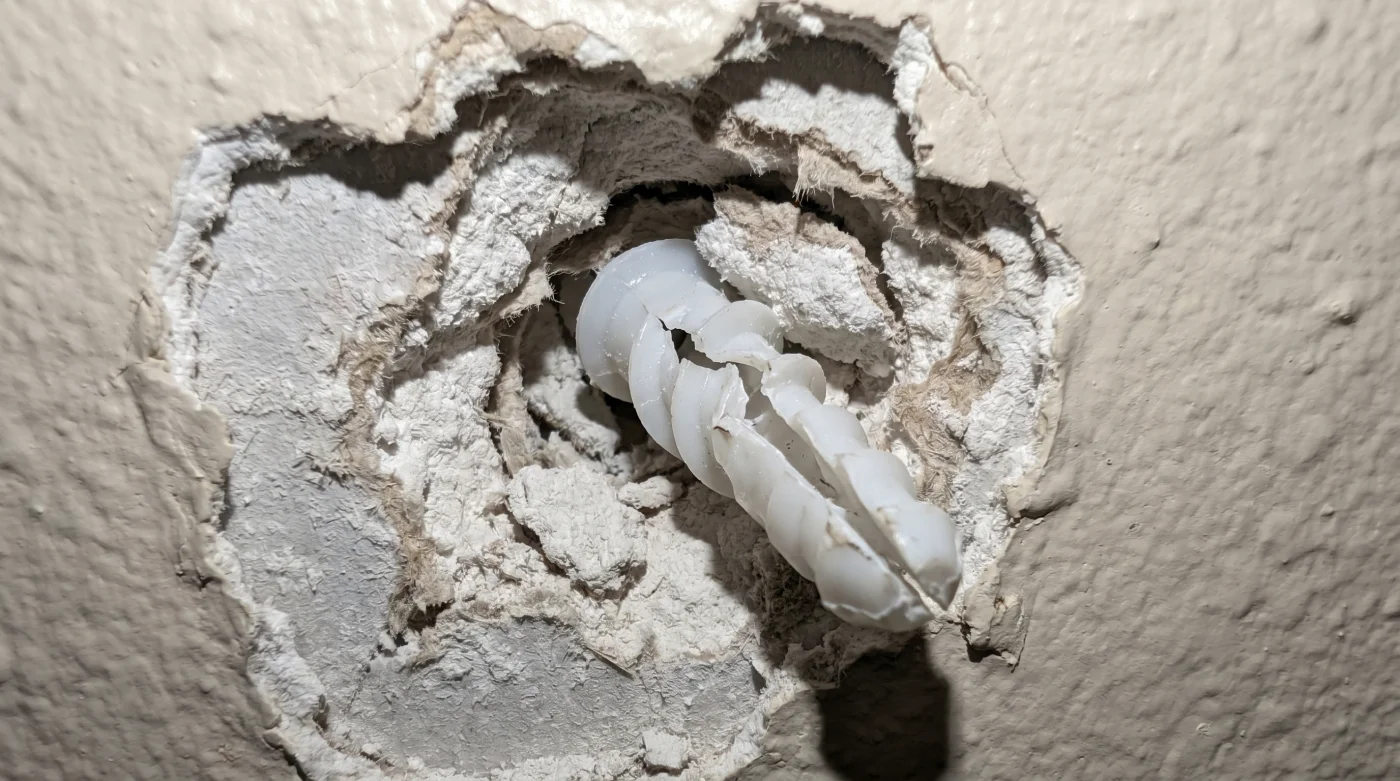
The afternoon light catches the fine, white dust drifting down the face of your living room wall. You hold a plastic sleeve in one hand, a hammer in the other, staring at the jagged crater you just created near the baseboard. It was supposed to be a quiet, ten-minute job to hang that new floating shelf.
Instead, the plastic plug bent halfway in, snapping against the hidden resistance of the plasterboard. You push harder, but you are fighting the very material designed to support your favourite possessions.
Standard advice tells you to just tap the anchor in until it sits flush. But what the hardware store packaging fails to mention is the delicate, almost powdery nature of the wall itself. Gypsum isn’t solid wood; it is crushed mineral dust bound by thick layers of paper.
When you skip the preparation, you aren’t creating a secure mount. You are violently shredding the core, turning what should be a solid anchor point into a fragile pocket of loose dust.
The Anatomy of a Silent Collapse
Think of standard half-inch drywall like a rigid, dried biscuit. It holds structural integrity only when the tension is perfectly balanced. When you take a smooth, blunt-ended plastic sleeve and force it directly through that delicate crust, the material doesn’t stretch to accommodate it. It crumbles under the blunt force.
The friction generates micro-fractures radiating outward, weakening the unseen structural integrity centimetres away from your intended mounting spot.
This is the core myth of rental modifications: the belief that plastic anchors are self-sufficient spikes. They are actually expansion sleeves that require a surgically precise cavity to function. By drilling an exact pilot hole first, you extract the gypsum powder cleanly. You give the anchor room to slide in flush, so when the screw is introduced, the plastic flares outward, biting into solid, undisturbed plaster rather than a powdery void.
Pre-drilling changes the physics entirely, ensuring maximum weight bearing capacity without jeopardizing your hard-earned damage deposit.
- Cast iron skillet rust vanishes using this basic household acid
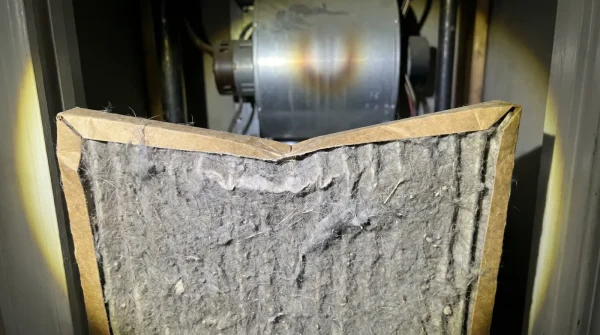
- HVAC filter density ratings secretly choke residential furnace blower motors
- Lawn mower blades dull instantly if you ignore grass moisture
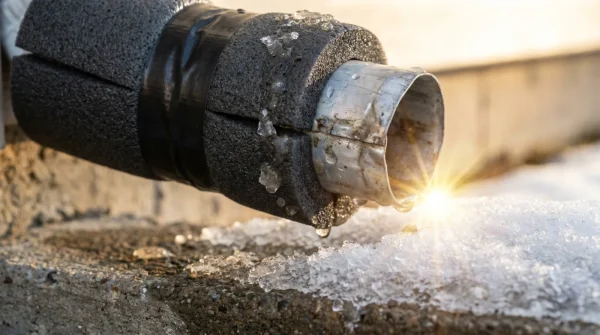
- Sump pump failures trace back to overlooked discharge pipe angles
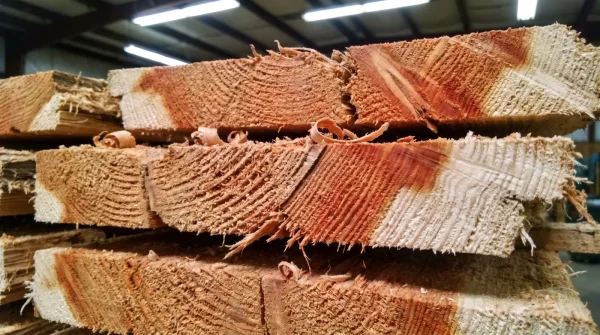
- Cedar lumber prices drop when you buy off-season fence panels
The Art of the Gallery Hanger
Ask Elias Thorne, a 44-year-old art installer who has spent the last decade mounting heavy, glass-fronted canvases in Toronto’s notoriously fragile Victorian rental conversions. Elias never touches a hammer when setting an anchor. He carries a small, cordless drill and a set of sharp masonry bits, treating every wall as though it were brittle porcelain. He insists that a perfectly bored hole, exactly the diameter of the anchor’s closed shaft, is the only way to trust a mount. To him, the anchor shouldn’t need force; it should slide into the wall with the gentle resistance of a cork easing into a wine bottle.
Matching the Method to the Weight
Not all walls or weights demand the same approach. Customizing your hardware to your specific ambition is how you avoid the midnight crash of a falling bookshelf. You have to read the room, and the load.
Your approach must adapt to the scale of your design ambitions, treating different weights with distinct mechanical respect.
For the Minimalist Decorator
If you are hanging lightweight frames, macrame planters, or small mirrors, standard ribbed plastic anchors are sufficient. The rule here is strict moderation. Your pilot hole should be slightly smaller than the widest part of the anchor. A clean, slow drill speed keeps the paper facing intact, preventing that unsightly tearing around the lip.
This subtle restraint guarantees a flush, perfectly hidden mount that disappears entirely behind your artwork.
For the Functional Pragmatist
When moving up to coat racks or medium-weight floating shelves, threaded drywall anchors—the ones that look like giant plastic screws—are vastly superior. Even though they claim to be self-drilling, treating them as such often tears the paper face. Drill a small, three-millimetre pilot hole first to guide the sharp tip.
Taking this small extra step guarantees perfectly straight, unblemished entry without the hardware wandering across the paint.
For the Heavy-Duty Optimist
Bookshelves, heavy mirrors, and television mounts in a rental require toggle bolts if you cannot locate a wooden stud. These metal anchors fold up like wings, slip through a larger pilot hole, and snap open behind the drywall. They distribute the load across a massive surface area of the gypsum’s back paper. The pilot hole here must be precise—too small and the wings won’t pass; too large and the front washer won’t grip.
Relying on these mechanical wings secures hundreds of pounds safely, acting as an invisible metal backbone for your heaviest furniture.
The Geometry of a Perfect Hold
Executing this requires leaving the hammer in the toolbox and relying on careful, rotational friction. The setup is quiet, methodical, and surprisingly satisfying.
Here is your tactical toolkit for flawless wall modifications:
- The Tape Trick: Place a small square of painter’s tape over your mark before drilling. This stops the drill bit from skittering and cleanly slices the paper facing.
- The Sizing Rule: Hold the drill bit up in front of the plastic anchor. You should be able to see the widest ribs of the anchor peeking out behind the drill bit. If the bit hides the anchor entirely, the hole will be too loose.
- The Dust Catch: Fold a sticky note in half and stick it directly beneath your drilling mark. It creates a tiny shelf to catch the fine gypsum dust, keeping your baseboards clean.
- The Slow Drive: Never use a power drill to drive the screw into the anchor. Use a hand screwdriver, preferably a Canadian-standard Robertson if the hardware allows, to feel the exact moment the plastic flares and locks. Stop the moment resistance sharply increases.
These deliberate, quiet actions transform a frustrating chore into mindful precision, ensuring your walls remain pristine.
Reclaiming Your Vertical Real Estate
Living in a space you don’t own often feels like living with your hands tied. Bare walls can make a temporary apartment feel transient and cold. But understanding the mechanical reality of your walls changes the relationship you have with your home.
When you stop forcing hardware into the drywall and start respecting the fragility of the gypsum core, the fear of losing your damage deposit fades. You stop viewing the walls as fragile boundaries and start seeing them as sturdy, waiting canvases.
You finally have the freedom to anchor your life deeply, filling your space with the art and function that makes a house feel intimately yours.
The wall doesn’t fail the hardware; the hardware fails the wall when we refuse to make space for it first.
| Key Point | Detail | Added Value for the Reader |
|---|---|---|
| Gypsum Fragility | Drywall is crushed mineral dust, not solid wood. | Prevents you from blowing out the back of your walls with blunt force. |
| The Pilot Hole | A pre-drilled cavity matching the anchor’s closed shaft. | Ensures the anchor expands properly for maximum holding power. |
| Hand-Tightening | Driving the final screw with a manual screwdriver. | Prevents over-torquing, which strips the plastic threads and ruins the grip. |
Frequently Asked Questions
What size drill bit should I use for a standard plastic anchor?
Choose a bit that matches the solid core of the anchor, leaving the outer flares exposed. Usually, this is a 4mm to 5mm bit for standard wall hooks.Can I just use a nail to make the hole?
A nail punches and compacts the gypsum, which causes micro-fracturing. A drill bit actively removes the dust, leaving a clean, structurally sound cylinder.How do I fix a hole where the anchor just spins?
The hole is stripped. Remove the plastic sleeve, insert a larger threaded drywall anchor into the same hole, or patch it and move your mounting point a few centimetres away.Do I need a pilot hole for self-drilling anchors?
While they are designed to pierce the wall, drilling a tiny 2mm pilot hole prevents them from tearing the surface paper and ensures they go in perfectly straight.How do I remove these anchors when my lease is up?
Insert a screw halfway into the anchor and gently pull straight out with pliers. If it resists, slice the visible plastic lip off with a utility knife and push the rest of the anchor into the wall cavity, then patch over it.